



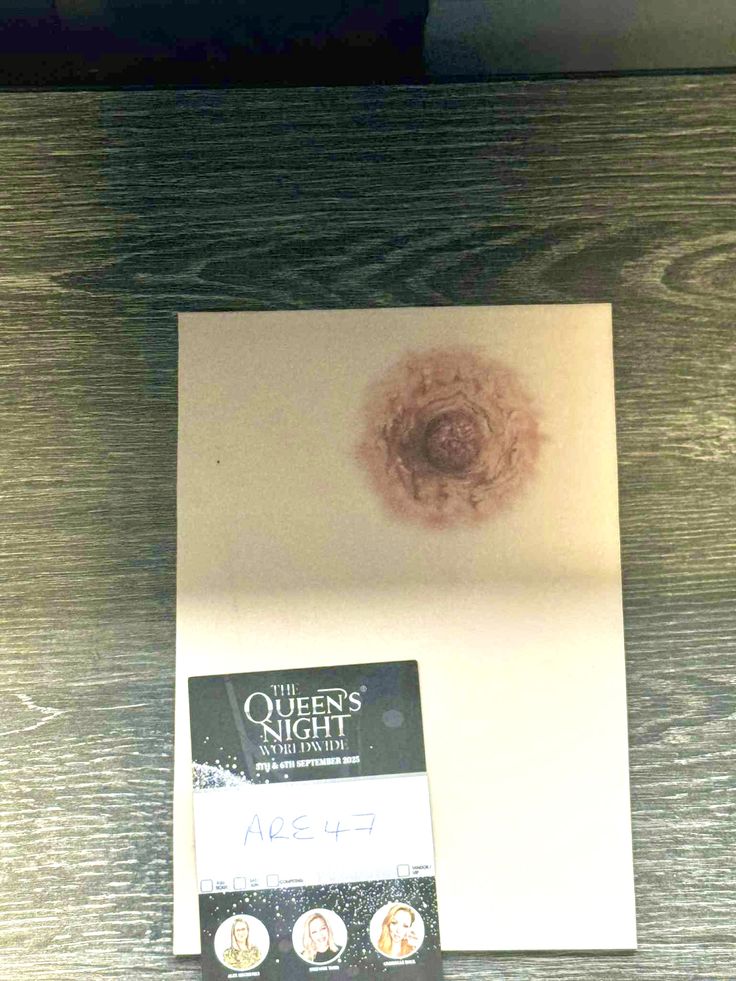
A 3D Areola tattoo in Boise is often the final step in breast reconstruction and restorative care, helping recreate the appearance of a natural nipple and areola through advanced paramedical tattooing techniques. While the procedure itself requires exceptional artistic skill, the healing process plays an equally important role in achieving beautiful, long-lasting results. Proper aftercare supports pigment retention, minimizes the risk of complications, and helps your tattoo heal evenly.
Every person’s recovery experience is different, depending on factors such as skin type, scar tissue, overall health, and healing ability. However, understanding what to expect during recovery and following your practitioner’s aftercare instructions can help ensure the best possible outcome. This guide explains the healing process, aftercare recommendations, and important tips for caring for your 3D areola tattoo.
Why Aftercare Matters
The tattooing process creates tiny openings in the skin to deposit pigment beneath the surface. As your body heals, the skin naturally repairs itself while the pigments settle into place.
Good aftercare helps:
- Support healthy healing
- Improve pigment retention
- Reduce irritation
- Minimize the risk of infection
- Promote even color development
- Protect the final appearance
Following professional guidance is one of the most important factors in achieving a successful result.
Immediately After the Procedure
When your appointment is finished, your practitioner will examine the treated area and provide personalized aftercare instructions.
Immediately after treatment, you may notice:
- Mild redness
- Slight swelling
- Temporary tenderness
- A darker color than expected
- Mild warmth around the tattooed area
These reactions are common and usually improve as healing progresses.
The First 24 Hours
During the first day, your skin begins the initial healing process.
You should:
- Follow your practitioner’s instructions regarding any dressing or protective covering.
- Avoid unnecessary touching of the tattoo.
- Keep the area clean according to your provider’s recommendations.
- Wear loose, comfortable clothing to minimize friction.
Avoid applying any products that have not been recommended by your practitioner.
Days 2–7: Early Healing
During the first week, the treated area continues to recover.
Common changes include:
- Reduced redness
- Mild dryness
- Tightness
- Light flaking
- Temporary itching
These are normal parts of the healing process.
Avoid scratching, rubbing, or picking at peeling skin, as doing so may interfere with pigment retention and delay healing.
Weeks 2–4: Continued Recovery
As healing continues, the tattoo gradually begins to soften in appearance.
You may notice:
- Less tenderness
- Improved skin texture
- More natural color
- Reduced peeling
- Better pigment blending
Many people worry that the tattoo appears lighter during this stage. This is typically a normal part of the healing process as the skin renews itself.
Cleaning the Tattoo
Proper hygiene supports healthy healing.
Follow your practitioner’s instructions for cleansing, which may include:
- Washing your hands before touching the area
- Cleaning the tattoo gently if instructed
- Patting the skin dry with a clean towel
- Avoiding harsh scrubbing
Never use abrasive materials on the healing tattoo.
Moisturizing the Area
Some practitioners recommend specific moisturizers or healing products during recovery.
Only use products that have been approved by your practitioner.
Applying unsuitable creams or ointments may interfere with healing or pigment retention.
Protecting the Tattoo
During recovery, the skin is more sensitive than usual.
Protect the tattoo by:
- Wearing loose-fitting clothing
- Avoiding excessive friction
- Following your practitioner’s activity recommendations
- Keeping the area clean
Reducing irritation supports more even healing.
Sun Protection
Ultraviolet (UV) exposure can contribute to pigment fading over time.
Once healing is complete, protecting the tattoo from excessive sunlight may help preserve:
- Color
- Detail
- Contrast
- Overall appearance
Ask your practitioner when it is appropriate to expose the treated area to sunlight again.
Activities to Avoid
During the healing period, your practitioner may recommend temporarily avoiding activities that could interfere with recovery.
These may include:
- Swimming
- Hot tubs
- Saunas
- Intense exercise that causes excessive friction
- Direct sun exposure
The appropriate timeline varies depending on your individual healing progress.
Understanding Pigment Changes
Immediately after treatment, pigments often appear darker and more vibrant than the final healed result.
Over the following weeks:
- Colors soften.
- Redness fades.
- Pigments settle.
- The three-dimensional illusion becomes more natural.
This gradual transformation is expected and should not be mistaken for poor pigment retention.
When Are Touch-Ups Needed?
Every person’s skin heals differently.
Some individuals choose a touch-up appointment after healing is complete to:
- Reinforce lighter areas
- Improve color consistency
- Enhance shading
- Refine symmetry
Your practitioner will evaluate your healed tattoo before recommending additional treatment.
Signs of Healthy Healing
Normal healing commonly includes:
- Mild redness
- Slight swelling
- Temporary tenderness
- Light peeling
- Gradual color softening
These changes usually improve steadily as the skin recovers.
When to Contact Your Practitioner
Although complications are uncommon when proper safety protocols are followed, you should contact your practitioner or healthcare provider if you notice:
- Increasing pain
- Significant swelling
- Worsening redness
- Unusual discharge
- Fever
- Any signs that may suggest infection
Prompt evaluation helps ensure appropriate care.
Long-Term Care
Even after healing is complete, maintaining your tattoo can help preserve its appearance.
Long-term care may include:
- Protecting the area from excessive sun exposure
- Following skincare recommendations
- Attending follow-up appointments if advised
- Scheduling touch-ups when appropriate
With proper maintenance, many 3D areola tattoos remain beautiful for years.
Choosing an Experienced Practitioner
Successful healing begins before the procedure itself.
Choose a practitioner who has:
- Specialized paramedical tattoo training
- Experience working with reconstructed breasts
- Knowledge of scar tissue
- Strict hygiene standards
- A portfolio of healed restorative work
Professional technique and proper aftercare guidance work together to support the best possible results.
Conclusion
Healing is an essential part of the success of a 3D areola tattoo. While the procedure itself is completed in a single appointment for many patients, the weeks that follow allow the skin to recover, pigments to settle, and the final three-dimensional effect to develop. By following your practitioner’s aftercare instructions, protecting the treated area, and allowing your body the time it needs to heal, you can help maximize pigment retention and achieve a natural-looking outcome.
Every individual heals at a different pace, and patience is an important part of the restoration process. Whether your 3D areola tattoo is the final step in breast reconstruction or another stage in your personal healing journey, proper aftercare plays a vital role in preserving both the appearance of your tattoo and your overall satisfaction with the results. With guidance from an experienced paramedical tattoo artist and a commitment to recommended care, your restoration can remain a meaningful and lasting part of your recovery.
